External Publishing Destinations
You can now add an “External” publish destination so that you can manually publish to a destination that you specify. This can be used for integrations that you may not have with Kapost but do publish content to.
These manual publish destinations can be configured to:
- Allow Drafts
- Only Allow drafts
You can also manage who can publish to these destinations similar to managing publish access on other integrations.
Admins can then add this publish destination to any content type that they would like. Users can then publish to the External destination for the published content.
Creating Your Unique Identifier
-
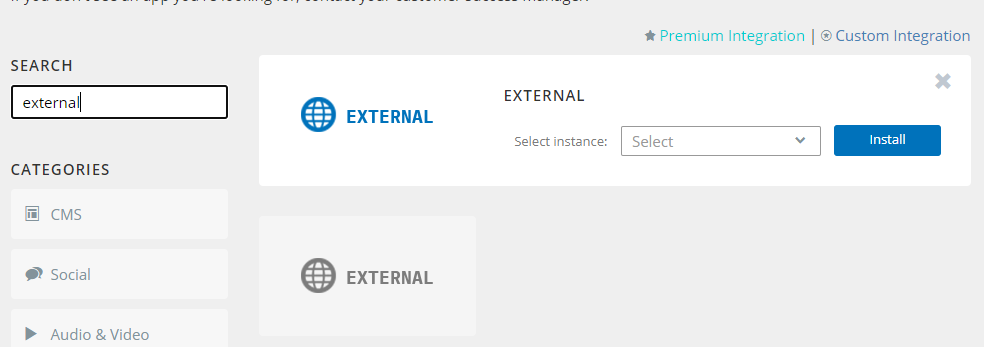
Go to Settings, App Center, and select “Install More Apps”.
-
Search for and select the “External” tile.
- From the “Select Instance” dropdown menu, select your Kapost instance and then “Install” the app to your instance.
-
You will then be taken back to your App Center Settings to a new destination connection.
-
Fill in the name of the connection and press “Connect”. Best practice is to name it something that identifies where the content is published.
-
After it has saved the new connection for your External Destination, you will want to go back to that destination and press the “Edit” link on the connection.
-
You will then be able to configure the connection.
-
Allow draft – Will allow users to publish as draft to the external destination.
-
Publish as draft only – Users will only be able to publish as draft for this destination and will not see the “Publish” option, only the “Publish as Draft” option.
-
Press “Save”


Your External destination has now been configured. You will want to then select “manage publish access” link at the top right of the destination. Here you can select what users or groups of users you would like to allow to publish to this destination.
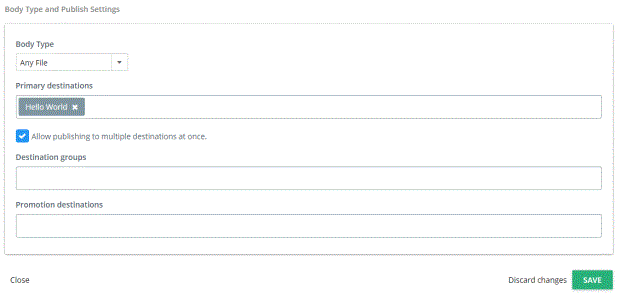
Next, you will add this new destination to any content type’s primary destinations, that you would like users to be able to “publish” to this new external destination.
Configure a Content Type
Once connected, the integration can be added as a promotion destination to the content types you’d like users to be able to promote.
- Navigate to Settings > Content Types & Workflow under Settings in the left navigation bar.
- Select edit next to the Content Type that you wish to publish.
- Select Body Type from the dropdown
- Click in the “Primary Destinations” field on that page. Select the connection from the list (listed by the name you provided). If the option is disabled in the dropdown menu, the most likely cause is that the Content Type does not have the Body Type. Check the “Body Type” field.

If you want to publish to multiple destinations you will enable the checkbox on the Content Type to allow publishing to multiple destinations. This will be on all content types other than those that have the body type of “Social Body Type”. Content types that use the Social Body Type automatically allow publishing to multiple destinations for the content. Note: If you have a Social Body Type content type, you will only be able to publish to one destination at a time.
Publish
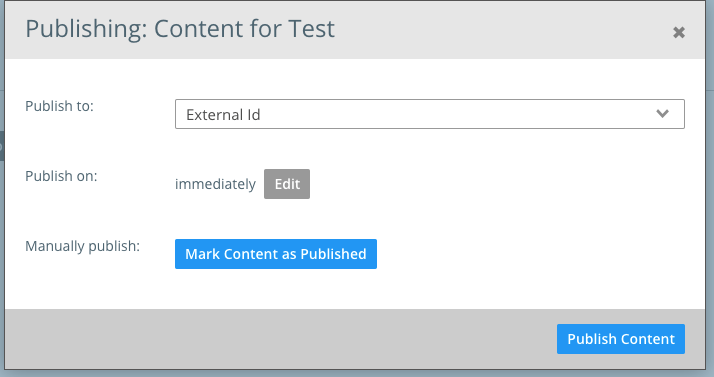
Users will then be able to create content and publish to this new primary destination. After selecting publish on the content and selecting the destination.

After publishing the content, a destination box will display at the top of the content with the name of the destination as the heading. Users can then select the Update URL button to add the URL for where the content has been published and then press Save.

Note: If you publish to multiple destinations, only the first instance is displayed in the Gallery.
If you have any questions please reach out to your CSM or the Kapost support team.